
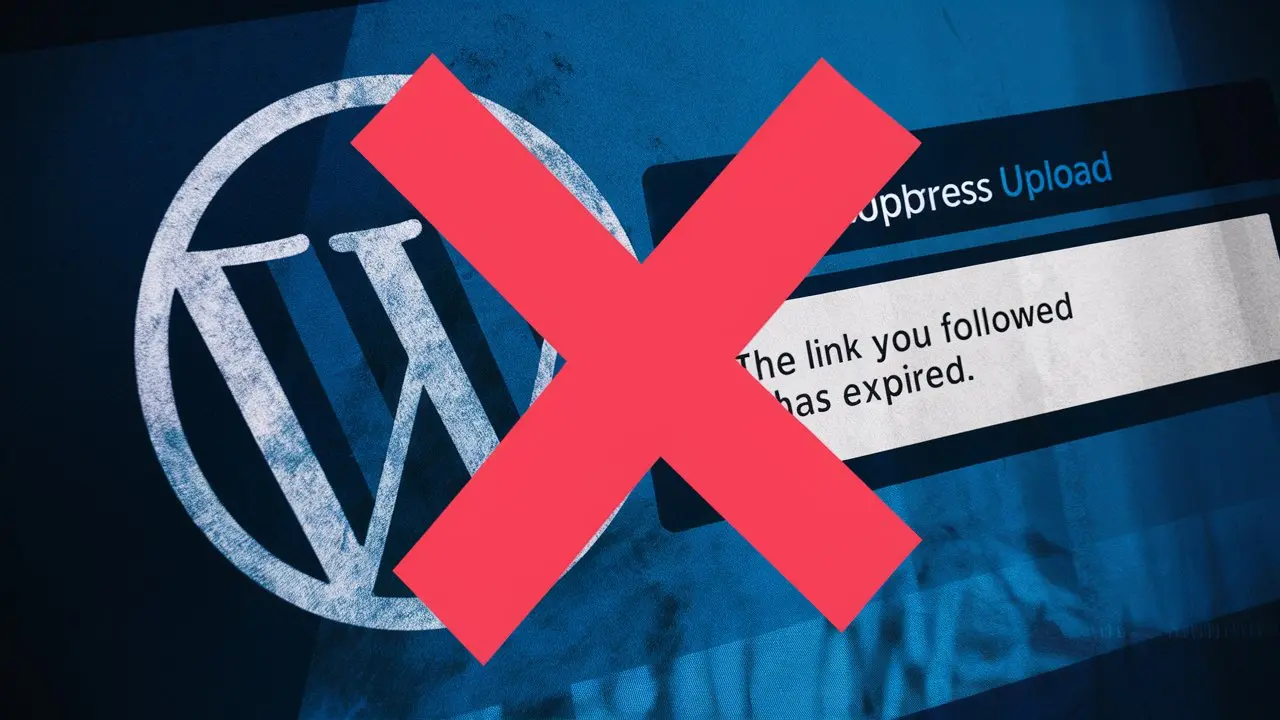
This article aims to guide you through various methods to resolve the “The link you followed has expired” error, ensuring your WordPress site runs smoothly. By increasing limits through recommended practices and adjusting configurations in files like .htaccess and php.ini, you can overcome this common hurdle. We’ll also discuss the importance of updating your PHP version to keep website errors at bay, optimizing your site for better performance and security.
Table of Contents
What Causes ‘The Link You Have Followed Has Expired’ Error
Understanding the root causes of the “The Link You Followed Has Expired” error in WordPress is essential for effective troubleshooting. This error typically arises due to several factors related to server settings and WordPress configurations:
1. File Size Limits
The most common trigger is attempting to upload a file—be it a theme, plugin, or media—that exceeds the maximum file size limit set by your hosting provider. You can check the current limit by navigating to Media > Add New in your WordPress dashboard.
2. PHP Version
An outdated PHP version can also lead to this error. Updating to a newer version of PHP often resolves the issue by enhancing the compatibility and performance of your WordPress site.
3. Plugin Conflicts
Specifically, conflicts arising from plugins can cause this error. For instance, issues have been noted with the W3 Total Cache plugin when accessing certain sub-menus, or with the Ad Inserter Pro plugin when settings are being saved.
4. Hosting Provider Restrictions
Sometimes, the problem lies not with WordPress or its plugins but directly with the restrictions imposed by the hosting provider, such as GoDaddy. These restrictions might pertain to file size, execution time, or other resource limits.
5. Nonce Issues
In some instances, the error is not directly related to file size or time limits but stems from nonce issues, which are tokens used to verify that the request to perform an action comes from a legitimate source.
By addressing these factors, you can effectively resolve the “The Link You Followed Has Expired” error and ensure smoother operations for your WordPress site.
Method 1: Increasing Limits Using WPCode (Recommended)
Step-by-Step Guide to Using WPCode to Increase Limits
Step 1: Install and Activate WPCode
Firstly, you need to install the WPCode plugin in your WordPress dashboard. Navigate to Plugins > Add New, search for “WPCode,” and click on Install Now. Once installed, activate the plugin to start using it.
Step 2: Access WPCode
After activation, locate WPCode in your WordPress dashboard. Click on WPCode from the sidebar menu, and then select Add Snippet to create a new code snippet.
Step 3: Add Code Snippet
In the Code Snippets section, you’ll find a box labeled Code Preview. Here, enter the following code snippet to adjust the file upload and execution limits:
@ini_set('upload_max_size', '120M');
@ini_set('post_max_size', '120M');
@ini_set('max_execution_time', '300');
Step 4: Customize the Code
If the default values do not meet your requirements, you can adjust the values in the code snippet. Change ‘120M’ to a higher value if you need a larger upload size or adjust the ‘300’ to increase or decrease the script execution time, depending on your hosting environment.
Step 5: Activate the Code Snippet
Once you have entered and customized your code, ensure to toggle on the code snippet to activate it. This action applies the new limits immediately, resolving the “The link you followed has expired” error by increasing the limits.
By following these steps using WPCode, you effectively increase the operational limits on your WordPress site, which helps in uploading larger files and running scripts longer without encountering the common ‘link expired’ issue.
Method 2: Increasing Limits in the .htaccess File
Step-by-Step Guide to Editing the .htaccess File
Step 1: Connect to Your Website via FTP
Access your website’s root directory using an FTP client. This directory usually contains your .htaccess file, which may be hidden. Ensure your FTP client is configured to show hidden files.
Step 2: Locate and Backup the .htaccess File
Before making any changes, it’s crucial to backup the .htaccess file. You can do this by downloading the file to your computer. This step ensures you can restore the original settings if needed.
Step 3: Edit the .htaccess File
Open the .htaccess file with a text editor. Scroll to the end of the file to add the following lines:
php_value upload_max_filesize 138M
php_value post_max_size 138M
php_value max_execution_time 300
php_value max_input_time 300
These lines increase the upload limits and execution times, aiding in preventing the “The link you followed has expired” error in WordPress.
Step 4: Save and Upload the File
After adding the necessary code, save your changes and upload the .htaccess file back to the server in the same directory you originally found it. It’s important to overwrite the existing file.
Step 5: Verify the Changes
Visit your WordPress site and attempt to upload a file or perform an action that previously triggered the error. If the error persists, consider further increasing the values or consult with your hosting provider for additional restrictions that might be affecting your site.
By following these steps, you can effectively increase the file upload size, PHP memory, and execution time limits for your WordPress site through the .htaccess file, thus resolving common website errors related to resource limitations.
Method 3: Increasing Limits in the php.ini File
Step-by-Step Guide to Editing the php.ini File
Step 1: Connect to Your Website via FTP
Begin by accessing your WordPress site’s root directory using an FTP client. This is where you’ll typically find the php.ini file, crucial for configuring PHP settings.
Step 2: Locate the php.ini File
Check if a php.ini file already exists in your site’s public_html folder. If not present, you’ll need to create one.
Step 3: Create or Edit the php.ini File
If the php.ini file does not exist, use a plain text editor to create a blank php.ini file. Add the following lines to set higher limits, which can help avoid the “The link you followed has expired” error:
upload_max_filesize = 128M
post_max_size = 128M
max_execution_time = 300
If a php.ini file is already present, open it and modify or add the above lines as necessary.
Step 4: Save and Upload the File
After editing or creating the php.ini file, save your changes. Upload the file back to the root directory of your website using the FTP client. Ensure you replace the existing php.ini file if it was already present.
Step 5: Verify the Changes
To ensure the changes have taken effect, reload your WordPress site and attempt to upload a file or perform an action that previously triggered the error. If the issue persists, consider adjusting the values further or consult with your hosting provider for more specific guidance regarding PHP configuration limits.
By increasing the PHP memory limits and execution times in the php.ini file, you can effectively manage and troubleshoot the “The link you followed has expired” error, enhancing your website’s functionality.
Method 4: Update Your PHP Version
Step-by-Step Guide to Updating Your PHP Version
Step 1: Check PHP Compatibility
Before proceeding with the update, verify that the new PHP version is compatible with your current WordPress installation and plugins. This precaution ensures that your website remains stable and functional after the update.
Step 2: Access Your Hosting Control Panel
Log in to your hosting provider’s control panel. This is typically where you can manage settings related to your website’s server and software environment.
Step 3: Navigate to PHP Version Settings
Once logged in, locate the section for PHP settings. This could be labeled as “PHP Version Manager” or something similar, depending on your hosting provider.
Step 4: Select the Desired PHP Version
Choose the PHP version you wish to upgrade to. It is recommended to select the latest stable version available to maximize security and performance benefits. As of 2022, WordPress recommends PHP version 7.4.
Step 5: Apply the Changes
After selecting the desired version, apply the changes. The update process may take a few minutes, during which your website might experience temporary downtime.
Step 6: Test Your Website
Once the update is complete, thoroughly test your website to check if all features and functionalities are working correctly. Pay special attention to plugins and themes to ensure they are fully operational.
Step 7: Address Potential Issues
If you encounter any issues after updating, you may need to either roll back to the previous PHP version or contact your hosting provider for assistance. Regular updates and monitoring can help prevent future compatibility issues and maintain your website’s performance.
By following these steps, you can successfully update the PHP version of your WordPress site, potentially resolving the “The link you followed has expired” error and enhancing your site’s overall security and efficiency.
Conclusion
Navigating through the complexities of resolving the “The link you followed has expired” error in WordPress is pivotal for maintaining the fluidity and user experience of your website. By understanding and applying the suggested methods—ranging from increasing limits using WPCode, editing .htaccess and php.ini files, to ensuring your PHP version is up to date—you pave the way for smoother site operations and heightened security. These efforts underscore the importance of backend website management in preempting potential disruptions and optimizing your WordPress platform for both current and future demands.
The exploration of these methods not only aids in overcoming the immediate issue but also enlightens website administrators about the intricacies of server management and its impact on website functionality. As we tread towards an increasingly digital future, the significance of adapting to and overcoming such technical hurdles cannot be overstated. Empowered with this knowledge, website owners are better equipped to manage their online presence effectively, ensuring a seamless experience for users and solidifying the foundation of their digital footprint.
FAQs
Q: What steps can I take to resolve the “The Link You Followed Has Expired” error in WordPress?
A: To fix the “The Link You Followed Has Expired” error in WordPress, you can try several methods:
- Increase the limits in the
functions.phpfile of your theme. - Modify the
.htaccessfile to increase the limits. - Adjust the limits in the
php.inifile. - Update to a newer version of PHP.
- Investigate and resolve any plugin conflicts.
- If you’re unable to resolve the issue yourself, contact your hosting provider for assistance.
Q: What causes the “The Link You Followed Has Expired” error when I try to log into WordPress?
A: The error message “The Link You Followed Has Expired” in WordPress typically occurs when you attempt to upload a theme or plugin file that exceeds the maximum file size limits set by your WordPress hosting service. This is one of several potential errors stemming from the file size upload restrictions.
Q: How can I reactivate an expired link?
A: To access the content from an expired link, you can:
- Use the Wayback Machine website by entering the expired URL to view a calendar and select the desired date for accessing the content.
- Contact the sender of the link and request an updated or active link if the expired link was sent to you by someone else.
Q: Why am I receiving a message that a link has expired?
A: You might see a message indicating that a link has expired if the link was intended for temporary use or has a set expiration date. This often happens for security reasons or to ensure that the content being linked to remains current.